

Artisan Stitch Tutorial • Published:
How to Crochet a Granny Square: Step-by-Step Tutorial
Stouto Crochet Tutorial

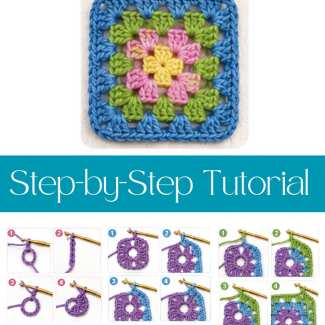
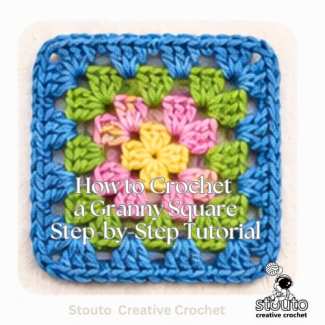
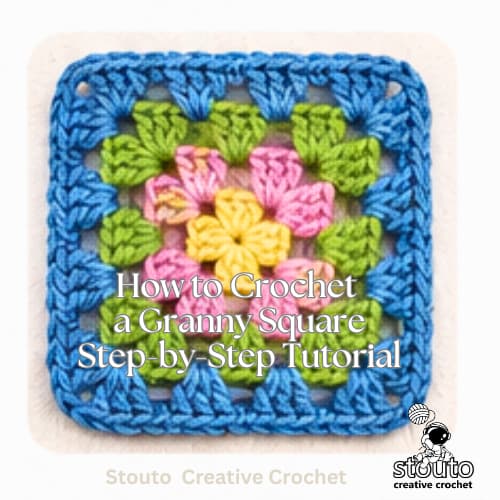
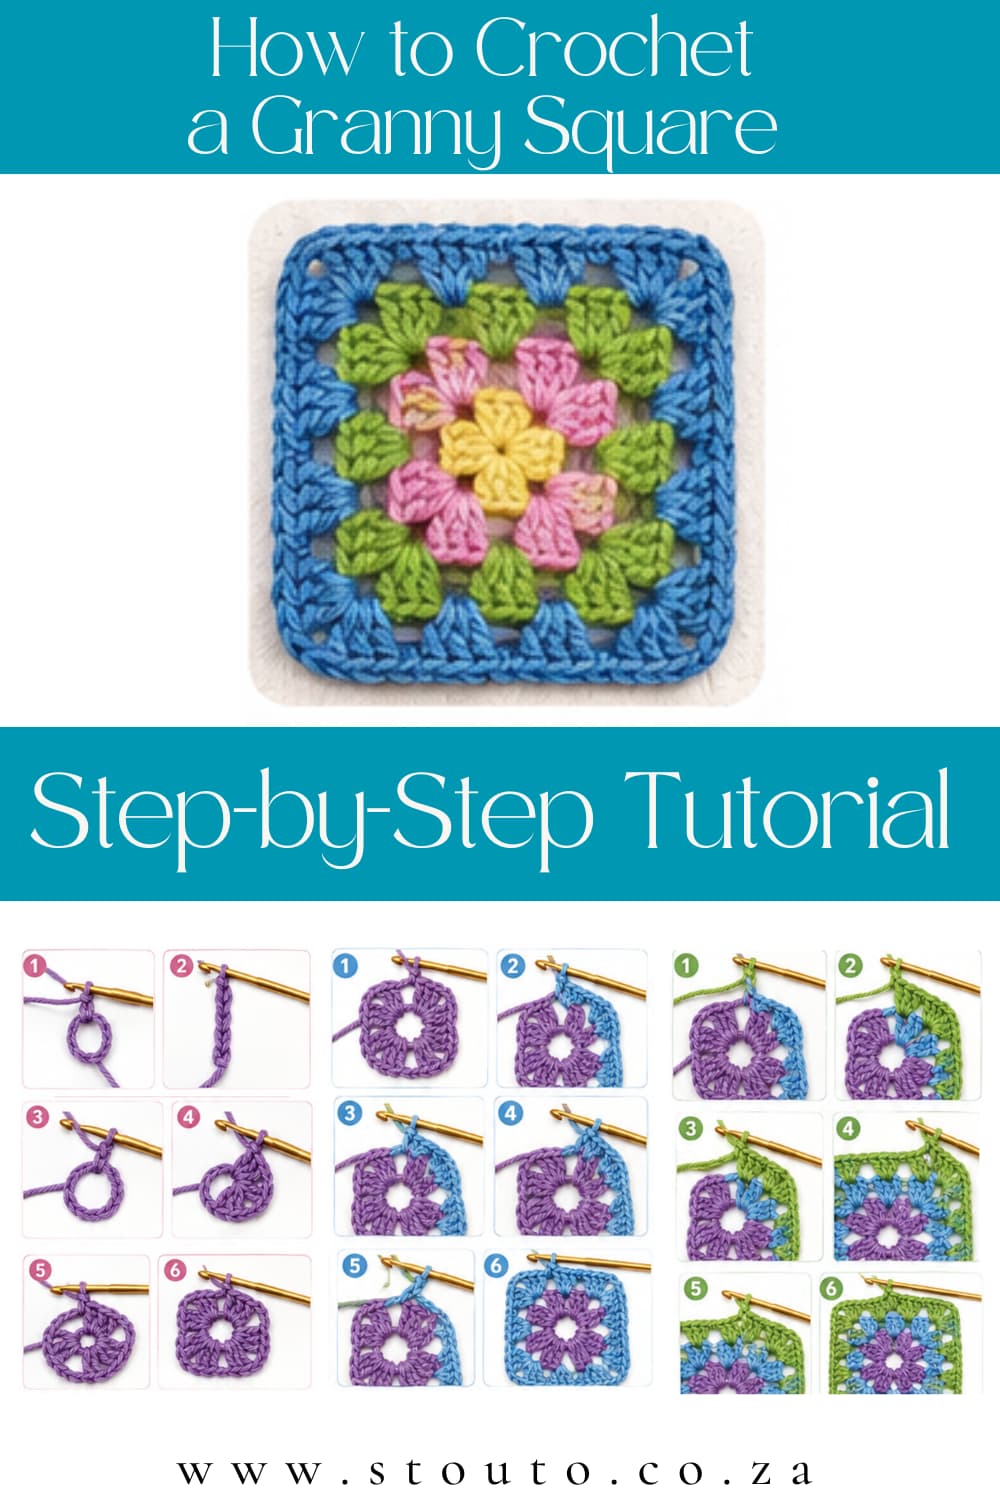
Learn how to crochet a granny square with this easy step-by-step tutorial for beginners. This classic crochet granny square uses basic stitches and simple repeating rounds, making it a great project for learning how granny squares are constructed.
This tutorial uses US crochet terminology and includes detailed instructions for the center, corners, side spaces, color changes and additional rounds. Once you have mastered the basic granny square, you can use your squares to make crochet blankets, bags, cushions, clothing and more.
PATTERNS AVAILABLE ACROSS OFFICIAL STORES:
ABOUT
.
Learn how to crochet a classic granny square with this easy step-by-step tutorial. Granny squares are one of the most popular crochet projects for beginners because they use just a few basic stitches and can be made in any combination of colors.
Once you learn the basic technique, you can use granny squares to make blankets, bags, cushions, clothing and many other crochet projects.
This tutorial uses US crochet terminology.
How to Make a Granny Square
A traditional granny square is worked from the center outward in rounds.
The basic construction is very simple:
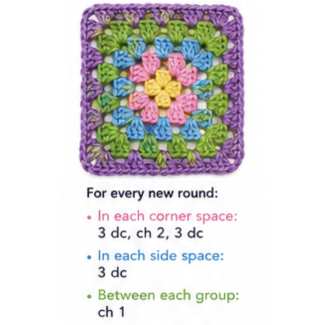
- Groups of 3 double crochet stitches create the granny clusters.
- Chain-1 spaces separate the clusters along the sides.
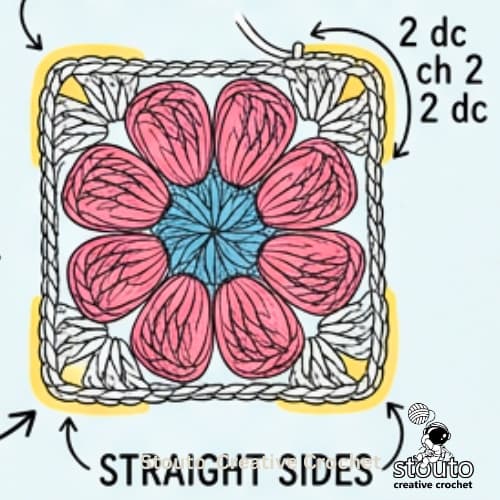
- Chain-2 spaces create the four corners.
- Each new round makes the square larger.
The most important part to remember is:
Granny cluster
3 dc
Corner
3 dc, ch 2, 3 dc
WHAT YOU WILL NEED
.

What You Will Need
- Yarn in your chosen color or colors
- Crochet hook suitable for your yarn
- Scissors
- Yarn needle for weaving in ends
For beginners, a smooth DK or light worsted weight yarn with a 4 mm crochet hook is a good combination.
What Can You Make With Granny Squares?
Once you know how to crochet a basic granny square, you can use the technique to create many different projects.
Try making:
- Granny square blankets
- Crochet bags
- Tote bags
- Cushions
- Cardigans
- Sweaters
- Crochet vests
- Baby blankets
- Shawls
- Scarves
- Clothing accessories
- Home décor
You can also combine different colors and granny square designs to create unique patchwork crochet projects.
TERMINOLOGY DECODED
US vs. UK Stitch Translation Matrix
Never let terminology ruin a project. In US terms, stitches are named after the yarn overs; in UK terms, stitches are named after the loops on your hook.
US vs. UK Stitches
Horizontal Scroll Supported
| Symbol / Chart | Stitch Name | UK Equivalent | Quick Method |
|---|---|---|---|
| cl | Cluster | cluster stitch (cl) |
1. Yarn over, insert, pull up loop (don’t finish). Repeat partial stitches per cluster (e.g., 3 times). |
| 3dc | 3 Double Crochet | 3 treble crochet (3tr) |
1. Work 3 dc into the same stitch (one after the other). |
| MR | Magic Ring | magic circle (MC) |
1. Wrap yarn around your fingers to form a loop. |
TUTORIAL NOTES
Pattern Notes
Why Is My Granny Square Wavy?
If your granny square is becoming wavy or ruffled, you may be accidentally adding too many stitches.
Check that:
- You work only 3 dc in each side space.
- You are not working additional clusters into the same space.
- Your corners contain only 3 dc, ch 2, 3 dc.
- Your tension remains consistent.
How to Make Your Granny Square Square
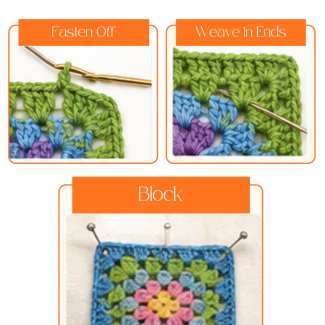
Blocking can help straighten and even out your finished granny square.
After completing the square:
- Lightly dampen it.
- Gently shape it into a square.
- Straighten the four corners.
- Make sure the sides are even.
- Allow it to dry completely.
Blocking is especially helpful when making multiple granny squares for a blanket because it helps make the squares more consistent in size.
Beginner Tips for Your First Granny Square
Don't worry if your first granny square isn't perfect.
Focus on these five things:
- Keep your tension consistent.
- Work groups of 3 dc.
- Make four clear corners.
- Work into the correct chain spaces.
- Check that your square has four equal sides.
The more granny squares you make, the easier the pattern becomes.
Easy Granny Square Formula to Remember
If you forget the pattern, remember these three rules:
Corner: 3 dc, ch 2, 3 dc
Side: 3 dc
Between groups: ch 1
That's the basic structure of a classic granny square.
Keep adding rounds until your granny square reaches the size you need.
TUTORIALS MADE EASY
.
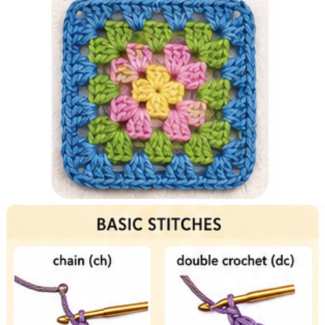
US Crochet Abbreviations
Abbreviation
- ch - chain
- sl st - slip stitch
- dc - double crochet
- st - stitch
- sp - space
- rnd - round
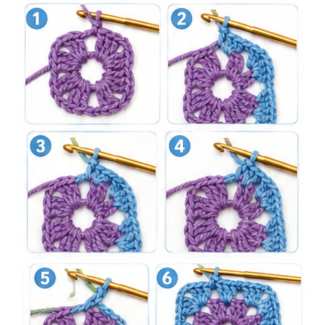
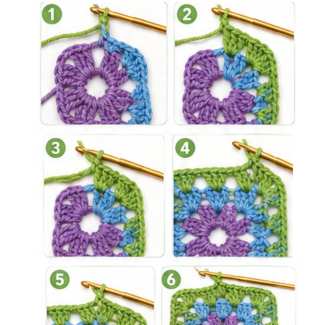
STEP-BY-STEP CROCHET GUIDE
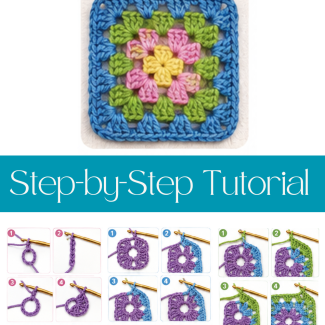
Step-by-Step
Browse through each row below or follow along round-by-round at your own pace.
Make a Slip Knot
Make a slip knot and place it on your crochet hook.
Adjust the knot so it sits comfortably on the hook without being too tight.
Crochet articles
CROCHET NOTES ON
How to Crochet a Granny Square: Step-by-Step Tutorial
stouto.co.za • Stouto Creative Crochet
Save for Later
Sharing is Caring
Love These Patterns? Share & Pin for Later!
Save this pattern hub to your favorite Pinterest boards, share with your crochet circle on Facebook, or copy the link for your next crafting weekend. Every share helps support independent artisan design!
Quick Social Sharing Links
Help fellow yarn enthusiasts discover tested row-by-row guides, free pattern downloads, and mindful crochet inspiration with one click:
Bookmark Tip: Press Ctrl + D / Cmd + D to save anytime.
#StoutoCreativeCrochet #CrochetTutorials #HowtoCrochetaGrannySquare:Step-by-StepTutorial
Limited-Time Deals
Promotions & Special Bundles
Take advantage of our maker promotions, volume discounts, and instant digital downloads.
Website Direct Sale
Ends: Promotion ends :
35% Raverly Sale
Unlock row-by-row blankets, botanical squares, and wearable patterns with instant PDF delivery.
APPLY COUPON AT CHECKOUT:
No code needed
Etsy Store Exclusive
Save 30% Auto
PROMO CODE : STOUTO30OFF
Get 30% off any flower motifs, throw blankets, or cushion patterns on Etsy. Use Promocode .
Open Etsy Store
Over 847 ★★★★★ reviews
Direct PDF Perks
Lifetime Access
VIP Maker Direct Delivery Guarantee
- Instant PDF download link right after purchase
- Formatted for home printing & tablet row-checkers
- Free errata notifications and chart expansions
EXPAND YOUR STITCH REPERTOIRE
View All Stitch Guides →
Explore More Crochet Tutorials on the Website
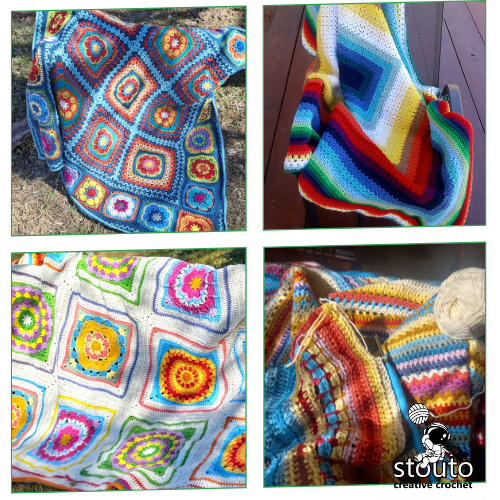
Beginner’s Guide to the Granny Stitch in Crochet
The Granny Stitch is one of the most iconic and beloved crochet stitches. Famous for its use in the classic granny square, this stitch is a must-learn for every crocheter.
EXPLORE PATTERNS
View All Crochet Patterns →
Related Patterns
FAQ
Frequently Asked Questions
What is a granny square?
A granny square is a crocheted square worked from the center outward in rounds. A traditional granny square is made using groups of three double crochet stitches, with chain spaces separating the groups and chain-2 spaces forming the four corners.
Is a granny square easy for beginners?
Yes. A classic granny square is an excellent beginner crochet project because it uses a small number of basic stitches and follows a repeating pattern. Once you understand the corner and side sections, each additional round follows the same basic structure.
What crochet stitches do I need to know to make a granny square?
A classic granny square mainly uses chain stitches, slip stitches and double crochet stitches. These basic stitches are combined into groups of three double crochet stitches to create the traditional granny cluster.
What terminology does this granny square tutorial use?
This tutorial uses US crochet terminology. For example, the main stitch used is double crochet (dc). In UK terminology, the same stitch is called a treble crochet (tr).
How many rounds does a granny square have?
There is no set number of rounds. You can continue crocheting additional rounds until your granny square reaches the size you need.
How do you make the corners of a granny square?
The corners are made by working: 3 dc, ch 2, 3 dc into the same corner space.
The chain-2 space creates the corner and provides a space for working the next round.
How do you make the sides of a granny square?
On the sides of the square, work 3 dc into each chain-1 space from the previous round. Work a chain 1 between the groups of double crochet.
Why is my granny square not staying square?
Uneven tension, missed stitches or accidentally adding extra clusters can cause a granny square to become distorted. Check that every corner contains 3 dc, ch 2, 3 dc and that you are working only one group of 3 dc into each side space.
Why is my granny square curling?
A little curling can be normal while you are crocheting, particularly during the first few rounds. If the square curls excessively, check your tension and make sure you are using a suitable hook size. Blocking the finished square can also help flatten and shape it.
Can I use different colors for each round?
Yes. Granny squares are ideal for using multiple colors. Fasten off at the end of a round and join your new color into a corner space to begin the next round.
Can I make a granny square bigger?
Yes. Simply continue adding rounds. Each new round adds more groups of 3 double crochet along each side while the corners continue to use 3 dc, ch 2, 3 dc.
Do granny squares need to be blocked?
Blocking is optional, but it can help straighten the edges, define the corners and make multiple granny squares more consistent in size. This is particularly useful when making a granny square blanket.
What can I make with granny squares?
Granny squares can be joined together to make many different crochet projects, including:
- Crochet blankets
- Bags
- Cushions
- Cardigans
- Sweaters
- Vests
- Baby blankets
- Shawls
- Scarves
- Home décor
Can I use any yarn to crochet a granny square?
You can make granny squares with many different yarn weights and fiber types. For beginners, a smooth yarn with good stitch definition is easiest to work with. Choose a crochet hook appropriate for your yarn weight and adjust your hook size if necessary to achieve a comfortable tension.

About the Designer
Hi, I'm Linda, the designer behind Stouto Creative Crochet. I create original crochet patterns inspired by colour, texture, and the joy of handmade crafts.
Each pattern is personally designed, written, tested, and photographed to provide clear instructions and an enjoyable crochet experience. My goal is to help crocheters of all skill levels create beautiful projects they can be proud of.
Discover more crochet patterns, tutorials, and creative resources from Stouto Creative Crochet.
Affiliate Partners & Maker Resources
Favorite Yarns, Craft Partners & Recommended Blogs
Discover our trusted yarn mills, partner craft platforms, and inspiring crochet friends. When you shop through these links, you support Stouto Creative Crochet at no extra cost to you.
Transparent Disclosure: We only partner with platforms and yarn makers we genuinely use and love.
Official Partner

LoveCrafts.com
Marketplace & Yarn HubShop pattern-matched yarn bundles, Stylecraft Special DK, Paintbox Yarns, and hooks with worldwide delivery.
Pattern Community
Ravelry Store
Digital Pattern LibraryAdd Stouto patterns straight to your personal digital library, track project queues, and view thousands of community project photos.
Featured Craft Blog

FreeCrochetDesigns.com
Partner Blog & GuidesExplore weekly free pattern roundups, stitch tutorials, and guest designer spotlights curated by our sister craft blog.
Star Seller
Stouto on Etsy
Maker MarketplaceBrowse automatic multi-buy discounts, over 750 maker reviews, and instant printable downloads.
Featured Maker Blogs & Community Friends:
#StoutoCreativeCrochet
Join Our Crochet Community
We love seeing what you create! Share photos of your finished crochet projects or works in progress on my Facebook page and connect with fellow crocheters who love handmade creativity as much as you do. Start exploring today, grab your hook, and enjoy crocheting patterns that inspire, relax, and delight, one crochet stitch at a time.